The Ultimate Guide to Starting a Successful Travel Blog
So you want to start a travel blog in 2025? Good news: you don’t need a tech degree, influencer abs, or a trust fund. All it takes is a laptop, some decent Wi-Fi, and a slightly irrational obsession with documenting your every adventure—from jaw-dropping sunsets in Bali to that one time you got food poisoning in Portugal (we’ve all been there, friend).
Whether you’re blogging for love, fame, passive income, or just to make your mom stop asking when you’re getting a real job, this step-by-step guide will walk you through it all. From choosing a name that doesn’t sound like an auto-generated Wi-Fi password to designing a site that doesn’t look like it was built in 2003, we’ve got you covered.
Let’s dive in—because your travel stories aren’t going to blog themselves.

Table of Contents
Phase 1: Laying the Foundation
- Establish Your Audience (Not a Niche)
- Pick a Travel Blog Name That Doesn’t Sound Like a Wi-Fi Password
Phase 2: Setting Up the Blog
- Buy a Domain + Hosting (Welcome to Adulting)
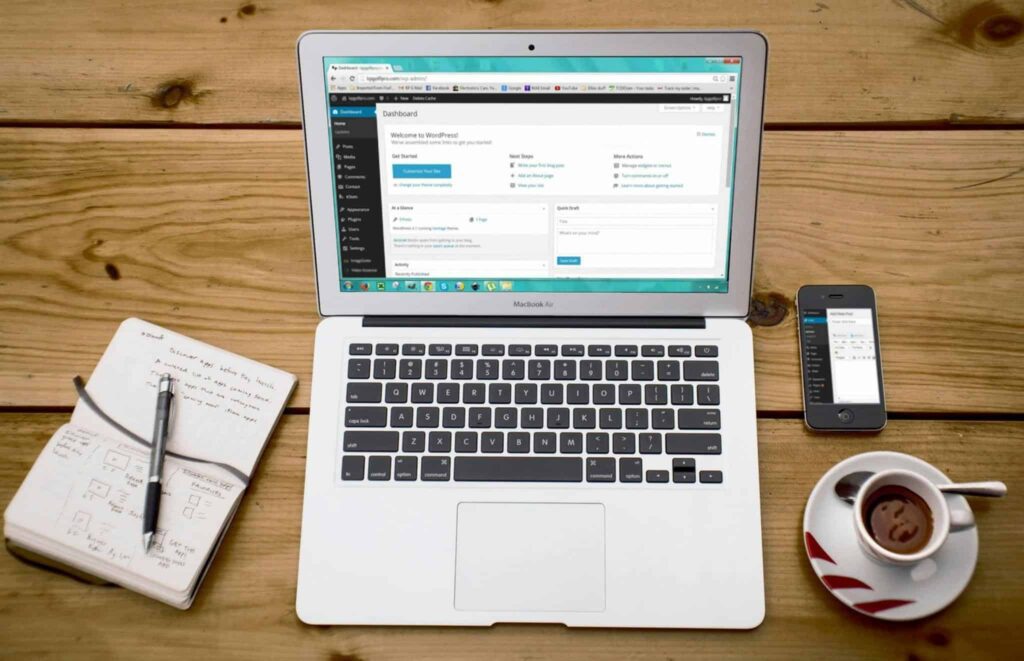
- Install WordPress Like a Tech Genius (No Coding Required)
- Connect Google Analytics + Search Console (Spy Mode Activated)
- Choose a Theme + Customize Your Blog Design
- Create a Logo + Brand Identity
- Set Up Essential Plugins (Digital Duct Tape)
Phase 3: Building the Essentials
- Set Up Your Key Pages (So You Look Legit)
- Craft Your First Blog Posts (They Don’t Have to Be Perfect)
- Learn SEO Basics (So Google Can Find You)
- Create a Content Schedule You’ll Stick To
- Design Scroll-Stopping Graphics + Pins
Phase 4: Going Live + Beyond
- Improve Site Speed + User Experience
- Final Thoughts: You’re the CEO of Your Blog Baby Now
Phase 1: Laying the Foundation

1. Establish Your Audience (Not a Niche)
Rather than forcing yourself into a hyper-specific niche (“vegan motorcycle backpacker in Southeast Asia”), focus on who you’re talking to. Think about:
- What kind of traveler are you?
- Who do you want to help?
- What problems can you solve?
This helps guide your content without boxing you in.
Pro tip: Create a reader avatar—a made-up profile of your dream reader. Give them a name, age, travel goals, and problems. Write like you’re solving their issues.

2. Pick a Travel Blog Name That Doesn’t Sound Like a Wi-Fi Password
Your name is the first impression. Aim for something:
- Short and memorable
- Easy to spell and say aloud
- That gives a vibe of YOU (fun, adventurous, sarcastic, classy… whatever works)
Step-by-step:
- Brainstorm a list of words related to your travel style
- Mash them together in different combinations
- Check for domain + social handle availability on Namecheckr
- Make sure it passes the “would I wear this on a t-shirt?” test

Phase 2: Setting Up the Blog

3. Buy a Domain + Hosting (Welcome to Adulting)
Pick a domain registrar and web host combo like SiteGround, Bluehost, or Namecheap.
Step-by-step:
- Buy your domain (yourblogname.com)
- Choose a hosting plan
- Connect the domain to your host

4. Install WordPress Like a Tech Genius (No Coding Required)
Most hosts have a one-click install option for WordPress. Use it. Bless it. Move on.
Once installed, log into your dashboard at yourblogname.com/wp-admin.


5. Connect Google Analytics + Search Console (Spy Mode Activated)
Use Google Analytics to track visitors and Google Search Console to monitor search traffic.
Step-by-step:
- Set up free accounts for both
- Install the Site Kit plugin on WordPress
- Connect and verify both accounts

6. Choose a Theme + Customize Your Blog Design
Pick a theme that’s mobile-friendly, fast, and customizable. Popular theme shops: Kadence, Bluchic, and 17th Avenue.
Customize your fonts, colors, layout, and menus.

8. Set Up Essential Plugins (Digital Duct Tape)
Must-haves:
- Rank Math or Yoast SEO
- WP Rocket (speed)
- Site Kit (Google tools)
- UpdraftPlus (backups)
- Akismet (spam blocker)
Phase 3: Building the Essentials

9. Set Up Your Key Pages (So You Look Legit)
Create the must-haves:
- About page
- Contact page
- Privacy policy + disclaimer
- Start Here (optional but helpful)

10. Craft Your First Blog Posts (They Don’t Have to Be Perfect)
Start with cornerstone content:
- Travel guides
- How-tos
- Personal stories with a point
Tip: Focus on solving a problem or answering a question your ideal reader has.
11. Learn SEO Basics (So Google Can Actually Find You)
Use keywords in:
- Blog post titles
- Meta descriptions
- Headings (H1, H2s)
- Alt text for images
Use Ubersuggest or Keysearch for research.
12. Create a Content Schedule You’ll Actually Stick To
Decide how often you’ll publish and stick to it—weekly, biweekly, etc. Use tools like Trello, Notion, or Google Calendar to organize your editorial calendar.

13. Design Scroll-Stopping Graphics + Pins
Use Canva templates to create:
- Blog post featured images
- Pinterest pins
- Instagram stories
Stick to your brand colors and fonts for consistency.

Phase 4: Going Live + Beyond

14. Improve Site Speed + User Experience
Run your site through PageSpeed Insights or GTmetrix.
Quick fixes:
- Compress images
- Use a caching plugin (like WP Rocket)
- Don’t go overboard with plugins

15. Final Thoughts: You’re the CEO of Your Blog Baby Now
Remember, your blog won’t grow overnight. Keep learning, keep writing, and most importantly—have fun with it.
You’ve got the tools. You’ve got the vision. Now go out there and make some digital magic.


